
5 Essential Slitting Die Maintenance Tips to Extend Tooling Life
5 Essential Slitting Die Maintenance Tips to Extend Tooling Life
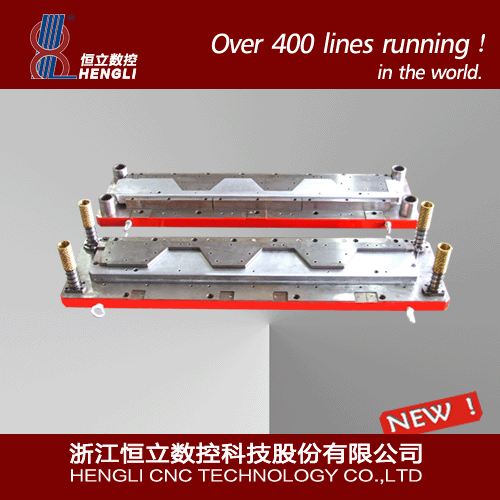
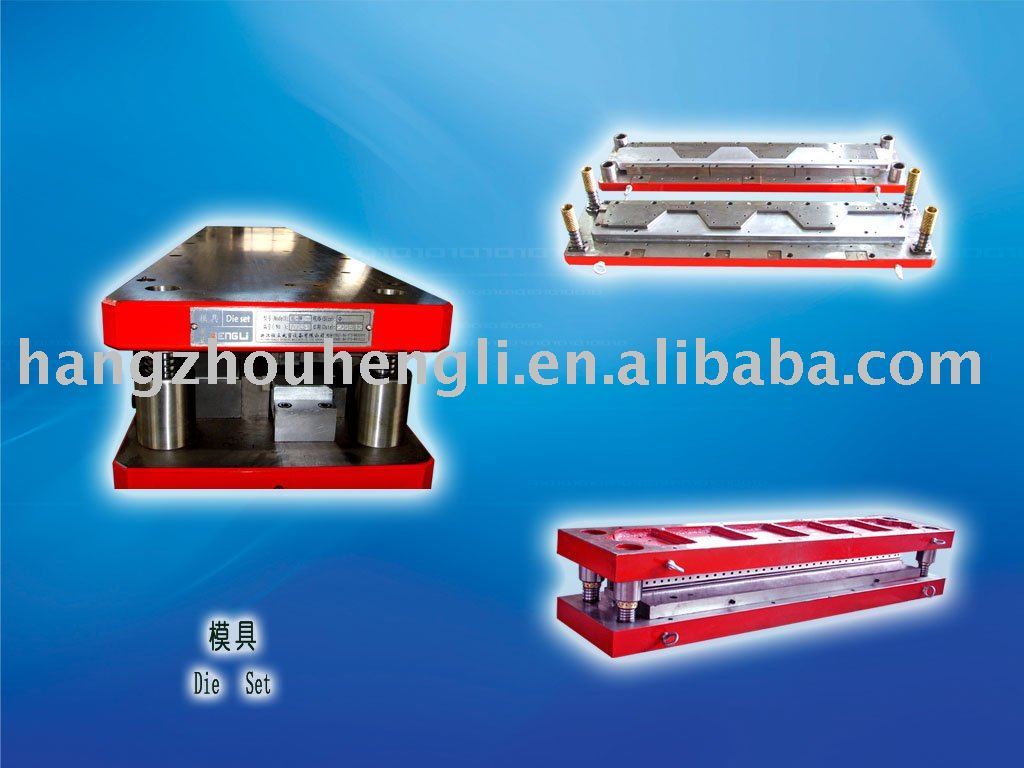
Slitting dies and cutting tooling are the heart of any metal slitting line. They determine strip width accuracy, edge quality, and the profitability of every coil you process. Yet many maintenance teams treat dies as an afterthought, running them until burrs appear and then sending them out for emergency regrinding. That reactive approach shortens tooling life, increases scrap, and drives up operating cost per ton. This guide gives maintenance operators and line managers five practical, field-proven tips: correct regrinding intervals, proper lubrication, controlled storage, disciplined edge inspection, and standardized mounting torque. Follow them consistently and you can realistically extend die life by 30% to 50% while keeping cut quality stable.
Tip 1: Stick to a Regrinding Interval, Not a "Run It Until It Fails" Rule
The single most common cause of premature slitting die failure is overrunning the regrinding interval. When a knife edge wears past its designed cutting radius, the die no longer shears the strip; it tears it. Tearing creates heavy burrs, accelerates flank wear, and can chip the cutting edge entirely. Once a chip appears, you cannot simply regrind it away, because the damaged zone is often deeper than the normal stock removal allowance.
Establish a fixed regrinding schedule based on footage, not on visible symptoms. Track the tonnage or meters processed per knife set, and log edge condition after every coil change. As a starting point, most carbon steel slitting operations regrind between 80 and 150 tons of processed material, depending on material hardness and strip thickness. Harder grades such as silicon steel require shorter intervals. Record the regrind amount on each pass, typically 0.03 to 0.08 mm per side, and replace the die when cumulative stock removal reaches 15% to 20% of the usable edge height. Cutting to these numbers instead of waiting for burr complaints keeps the edge geometry consistent and avoids sudden catastrophic failures on the line.
Tip 2: Lubricate the Right Way, in the Right Place
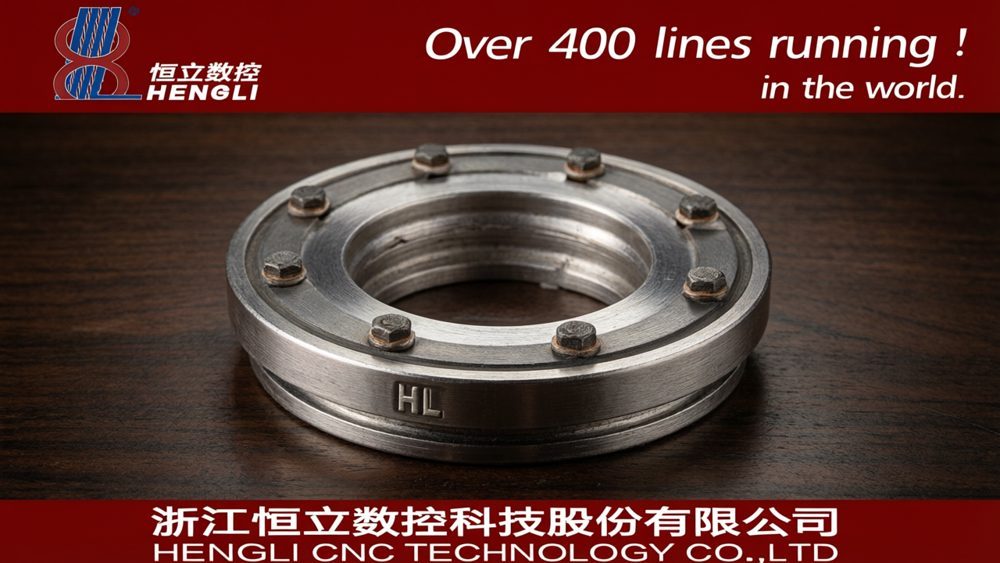
Slitting dies operate at high rotational speeds under significant radial and axial loads. Lubrication is not optional, but the way you lubricate matters as much as the lubricant itself. The two critical zones are the bearing seats on the knife shaft and the side faces where knives and spacers meet. These faces carry the axial clamping load; without a thin film of oil, micro-welding occurs between adjacent surfaces, which shows up later as galling and makes disassembly extremely difficult.
Use a high-viscosity-index lubricant matched to the bearing type, and apply it in measured doses. Over-lubrication is a real problem: excess oil attracts dust and fines, which form an abrasive paste that wears the knife shaft and the die bore. On slitting lines that process silicon steel or tinplate, consider a light, filtered lubricant applied to the knife faces during tooling setup, plus scheduled greasing of the bearing seats according to the line manufacturer's interval. Clean and re-grease after every tooling change rather than topping up repeatedly, because old grease degrades and loses its film strength. A simple lubrication log, with the date, lubricant grade, and quantity per position, pays for itself in bearing and knife life.
Tip 3: Store Dies Clean, Dry, and Protected
Storage conditions quietly determine a large share of tooling life. A freshly reground slitting die stored in a damp workshop can develop surface rust in a single night, and that rust acts as an abrasive layer on the first coil processed after installation. Corrosion pitting on the cutting edge is often mistaken for a regrinding defect, but no amount of sharpening will restore a pitted edge to original performance.
Follow three storage rules. First, after every regrind or tooling change, wipe the die with a clean lint-free cloth, apply a thin corrosion-preventive oil, and wrap it in anti-rust paper or place it in a sealed protective sleeve. Second, store dies vertically on dedicated racks so cutting edges never touch hard surfaces or each other; edge-to-edge contact is one of the most common causes of hidden chipping that only appears under load. Third, control the environment. Keep the tooling cabinet in a dry area with stable temperature, ideally below 60% relative humidity, and add silica gel desiccant in enclosed cabinets. A simple first-in-first-out rotation system, with each die labeled by regrind count and last service date, prevents both forgotten dies and overused dies from staying in circulation too long.
Tip 4: Inspect Cutting Edges at a Fixed Frequency, Not by Luck
Edge inspection is the early warning system for the whole tooling set. If you only inspect knives when the line produces a visible defect, the damage is already done, and the defective coil may have contaminated an entire batch. A structured inspection frequency catches wear while it is still economical to correct.
Inspect at three moments. First, at every tooling change, check each knife for chipping, discoloration (blueing indicates overheating), and uneven wear patterns on the edge; uneven wear usually points to a runout or alignment problem rather than a knife problem. Second, during production, perform a quick edge check on the first coil after setup and then at a fixed interval, such as every two hours or every five coils, using a simple burr gauge on both strip edges. Third, when removing a die set, note the edge condition and enter it into the maintenance log before cleaning. Make the inspection routine visual and tactile: a magnifying lamp and a fingernail or plastic test pass along the edge reveals roughness that a fast glance misses. Document everything, because a log showing gradual edge wear on the same shaft position is often the clue that the spindle has developed runout.

Tip 5: Respect Mounting Torque and Clamping Standards
More dies are ruined by incorrect mounting than by any cutting operation. Over-tightening distorts the die bore and the knife seat, introducing runout that shows up as uneven edge wear and vibration; under-tightening lets the die move axially during slitting, which destroys both the edge and the spacer faces. Torque is a specification, not a feel.
Use a calibrated torque wrench for every knife shaft nut and clamping element, and apply the value specified in the line manual, typically in the range of 80 to 160 N·m for common knife shaft diameters depending on the design. Tighten in a crisscross pattern when the clamping arrangement uses multiple fasteners so the load stays even across the knife stack. Before final tightening, check that the knife faces and spacers are free of burrs and dirt, because a 0.02 mm particle under a spacer creates a measurable wobble at the cutting edge. After tightening, verify the stack with a dial indicator for runout; a reading under 0.01 mm at the edge is a good practical target. Finally, record the torque value and operator name on the tooling change sheet, so if a quality problem appears later, the team can trace whether the mounting step followed the standard.
Build a Maintenance Routine That Protects the Whole Set
These five practices work best as a closed loop. Regrind on schedule, lubricate by procedure, store with protection, inspect at fixed intervals, and mount to a torque standard. When each step is logged, the maintenance team gains something more valuable than longer knife life: predictability. You will know exactly when a die set needs attention, what it costs per ton to run, and where the weak points are in your own line. That is the difference between a tooling department that reacts to failures and one that prevents them.
If you are looking for replacement dies or a new slitting line built around better tooling life, explore the product catalog or read more articles in the maintenance blog. For line-specific recommendations on regrinding intervals and torque values, contact our engineers with your material grades and strip widths.